TLDR - Dungeon Brawl lives again! https://dungeonbrawl.ngrok.io/
It has been a couple of months since shifting my web presence from a dynamic wordpress blog into a static hugo & github action deployment pipeline.
Over the years I’ve installed more and more onto this small digital ocean droplet, things like Postgres beside MySQL, Docker to run multiple containers of Flask and MongoDB. I’m not going to lie, running Postfix, spam-assassin, domain keys service was very over the top for the amount of legit mail I received :lol:.
More and more I saw the resources needs climb, and even once decided to jump from my initial $5 droplet to a $10, just to handle the resource needs. The shift to static for my blog allowed me to fit back into that sweet, sweet $5 droplet, but I had to axe a few things, things like my beloved Dungeon Brawl :cry:.
Which lead me to realizing I have more RaspberryPi’s than people in this house, and I could totally run Dungeon Brawl for the community on that existing hardware.

Well, here is my journey, thus far, of running Dungeon Brawl on a RaspberryPi, for you, the internet. The magic here being ngrok, but let’s not get ahead of ourselves.
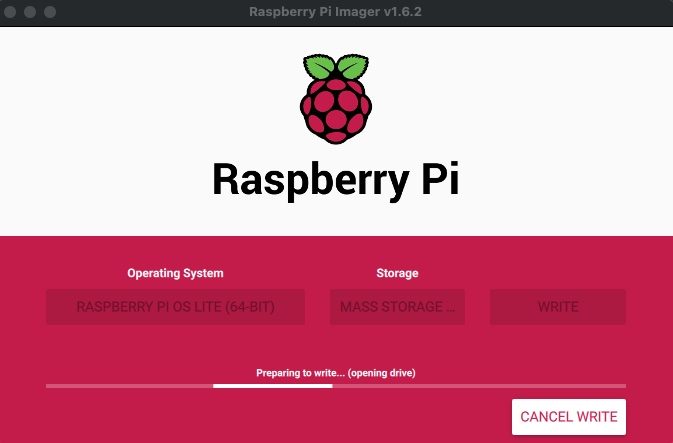
Let’s start things off with a fresh install of Raspberry Pi OS using the Pi Imaginer:
Next up is to boot our Pi, and enable remote access via SSH (Interface Options -> SSH):
$ sudo raspi-config
At this point I’m able to take note of my local ip address:
$ ifconfig eth0
Like a good system administrator let’s do a full system update, and then install some useful tools:
$ sudo apt-get update
$ sudo apt-get upgrade
$ sudo apt-get install git vim htop
And to get on the fresh new kernel, reboot:
$ sudo reboot
Next up let’s pull down the Dungeon Brawl project (note it’s worth checking out the README)
$ git clone https://github.com/jness/dungeon_brawl.git
$ cd dungeon_brawl/
Now that I have the code, I’m going to make sure I have docker installed, and enabled on boot:
$ sudo apt-get install docker.io docker-compose
$ sudo systemctl enable docker
That’s it for the application, it should be able to run, and be accessible on your local network. Let’s do our initial docker up and make sure we can connect:
$ sudo docker-compose up
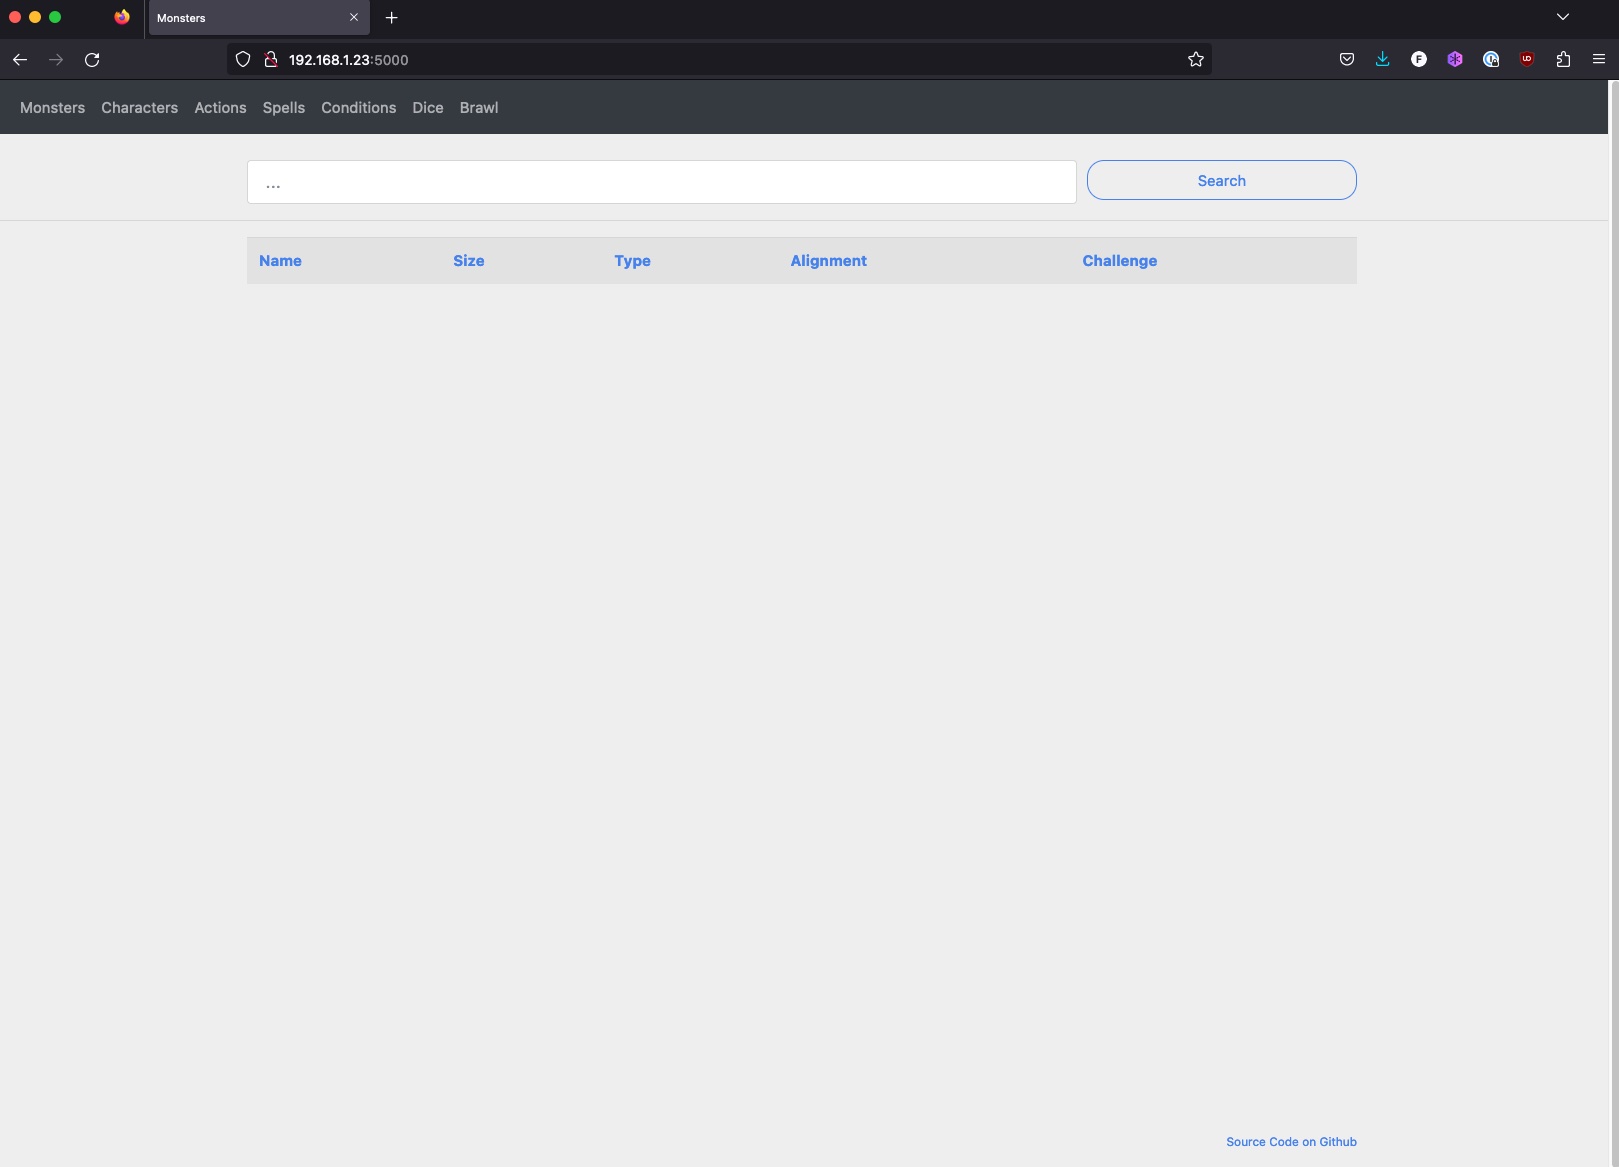
Access the RaspberryPi’s internal ip address with application port, something like http://192.168.1.23:5000/
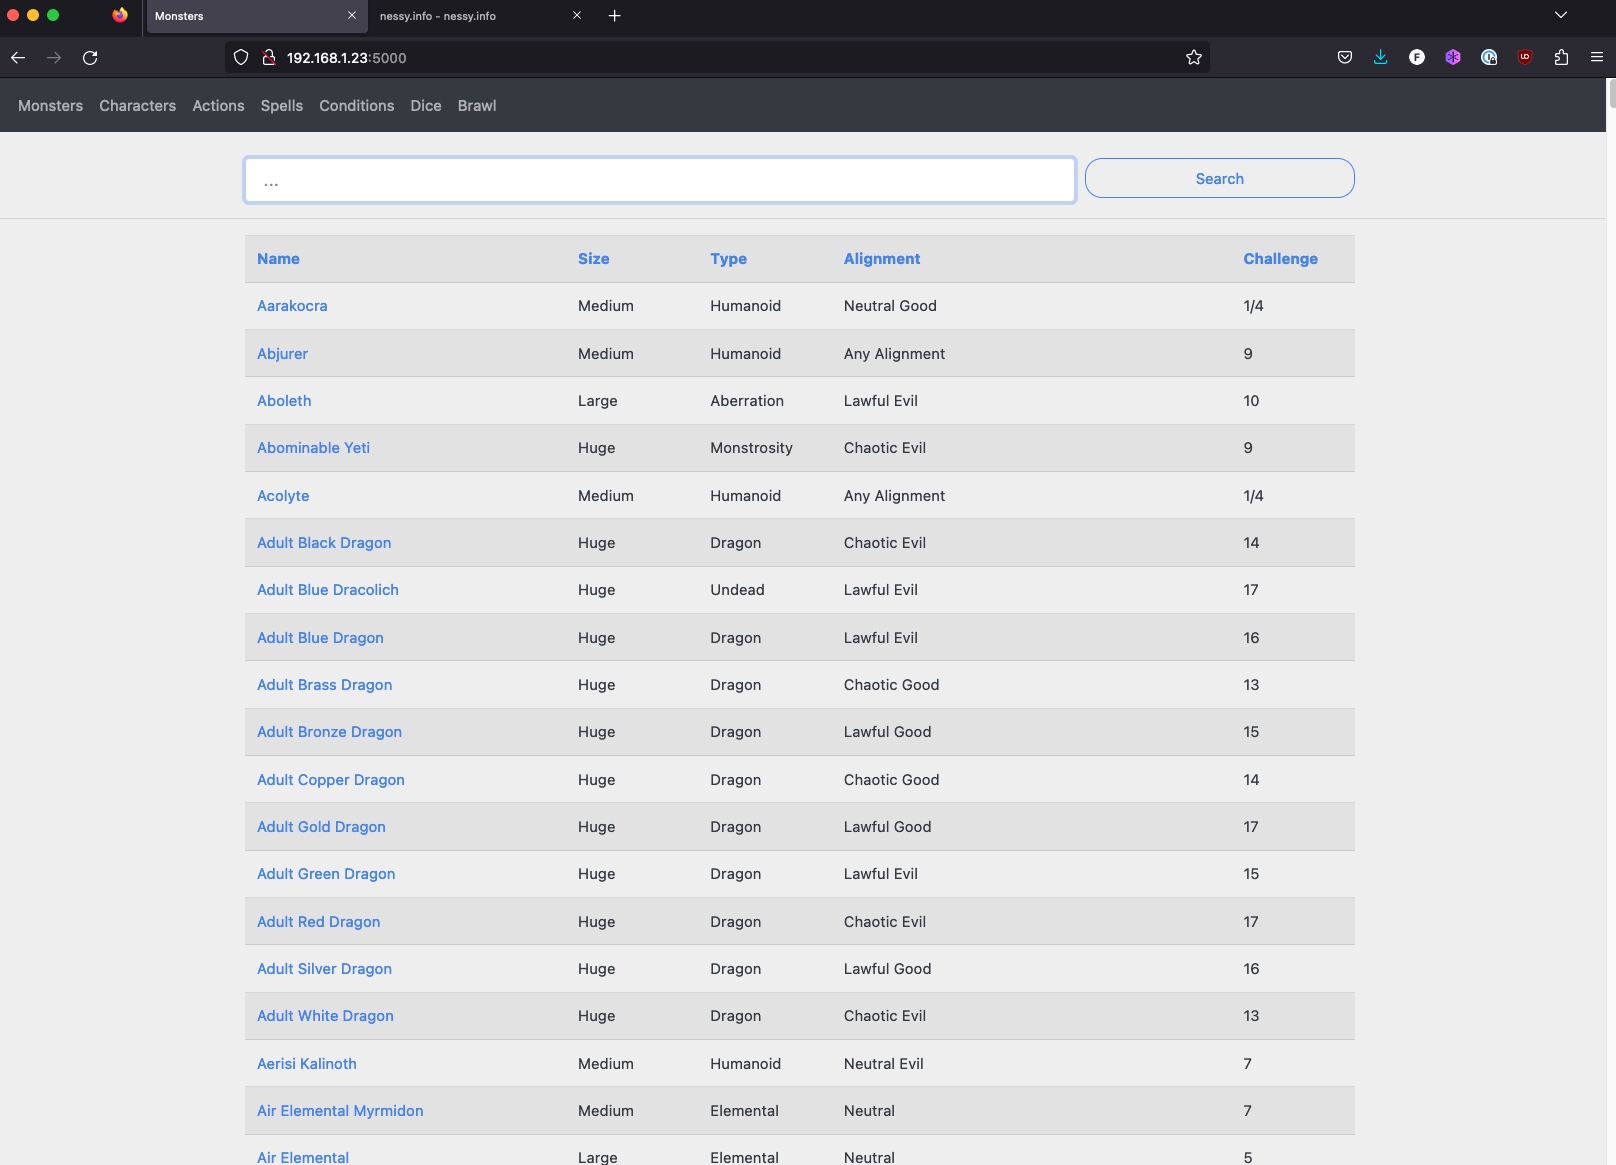
From another terminal lets populate the base module (according to README):
$ sudo docker-compose exec web scripts/populate.py base
Another look at the application should have us populated and ready to kick down that door :)
One final thing before we get online, let’s make sure our service starts on boot. Create a simple systemd unit like below:
$ cat /etc/systemd/system/dungeon-brawl.service
[Unit]
Description=Dungeon Brawl
PartOf=docker.service
After=docker.service

[Service]
Type=oneshot
RemainAfterExit=true
WorkingDirectory=/home/jness/dungeon_brawl
ExecStart=/usr/local/bin/docker-compose up -d --remove-orphans
ExecStop=/usr/local/bin/docker-compose down

[Install]
WantedBy=multi-user.target
Make sure to reload your units, and start it up. If it’s working you should be able to access the web app from your browser:
$ sudo systemctl daemon-reload
$ sudo systemctl start dungeon-brawl
You can also confirm stopping the unit works. Run the following and make
sure the web application is no longer available in the browser:
$ sudo systemctl stop dungeon-brawl
If all is looking good, go ahead and enable the unit, and start it back up:
$ sudo systemctl enable dungeon-brawl
$ sudo systemctl start dungeon-brawl
Now comes the fun part, getting this accessible to the internet! To do this we are going to using ngrok’s apt packages.
Just like the documentation shows I’ll grab their gpg keys, and create the repo file:
$ curl -s https://ngrok-agent.s3.amazonaws.com/ngrok.asc | sudo tee /etc/apt/trusted.gpg.d/ngrok.asc >/dev/null && echo "deb https://ngrok-agent.s3.amazonaws.com buster main" | sudo tee /etc/apt/sources.list.d/ngrok.list && sudo apt update && sudo apt install ngrok
To confirm the binary is working, I’m going to set my ngrok token:
$ ngrok config add-authtoken <token>
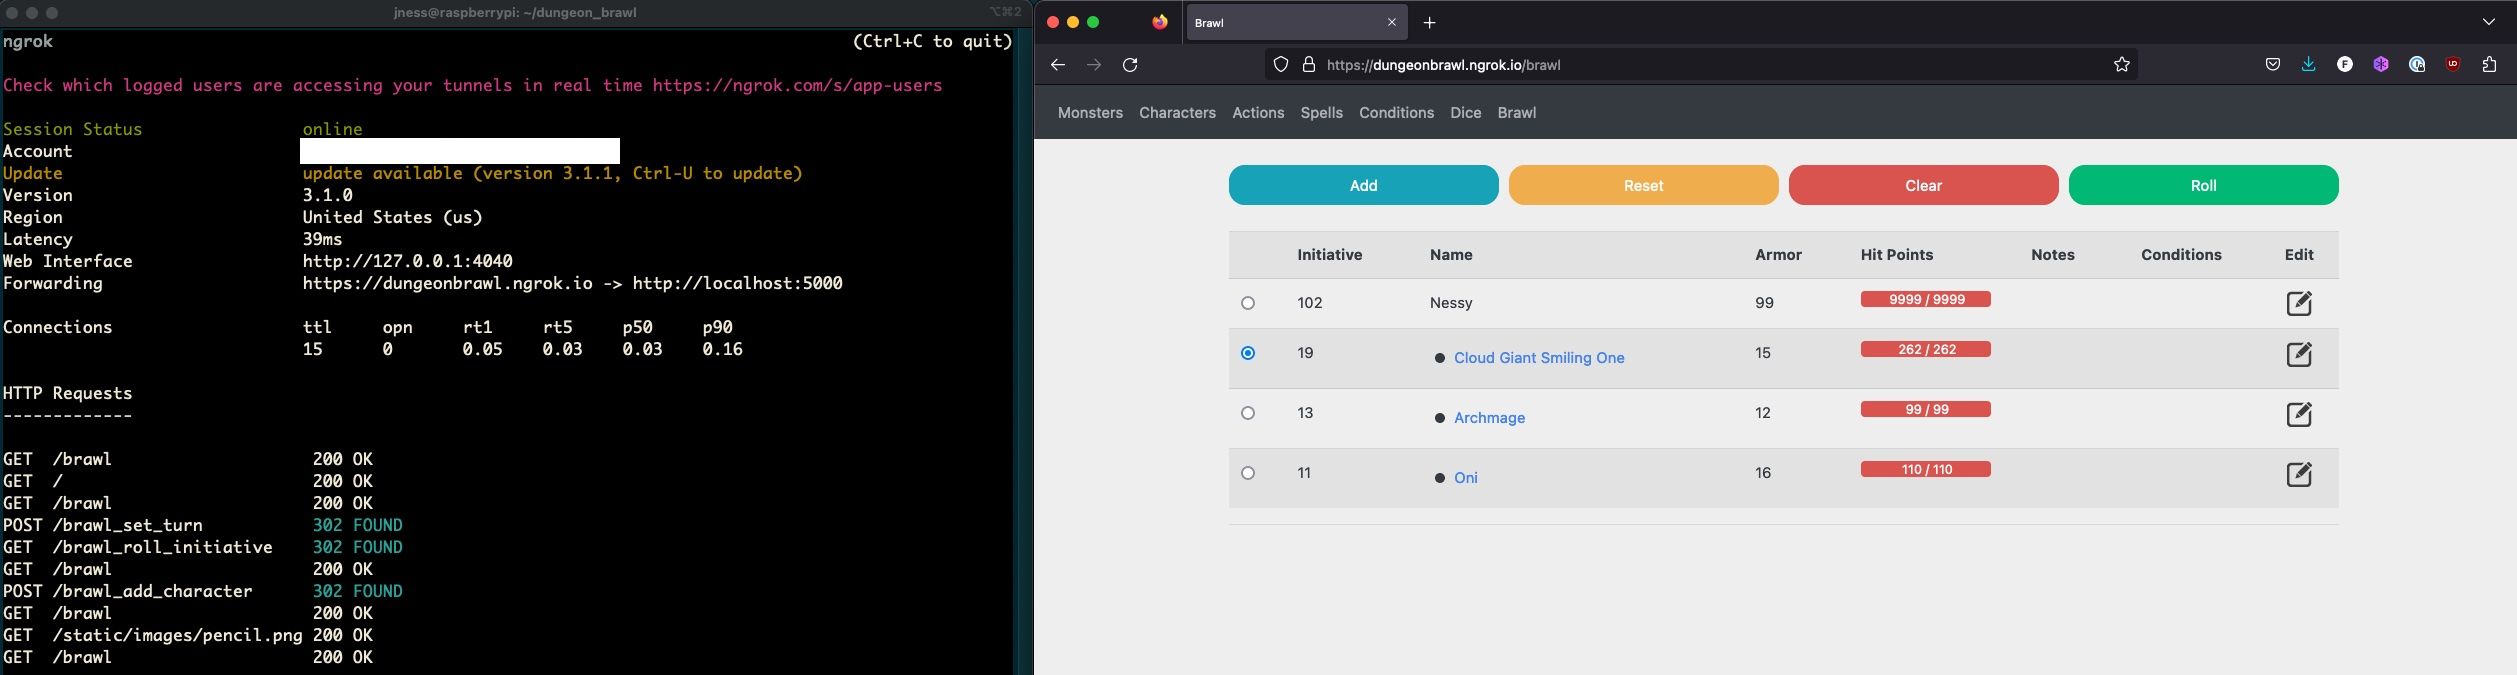
And with my custom subdomain I can fire up the tunnel:
$ screen
$ ngrok --subdomain=dungeonbrawl http 5000
And there you have it, Dungeon Brawl lives again https://dungeonbrawl.ngrok.io/